A Guide to Simple Homemade Yeasted Bread (Loaves, Buns, Croutons, Bread Crumbs) - dairy free, nut and peanut free, egg free, soy free
I love a pull apart seam on the side of my freshly baked loaves of bread
If you enjoy making your own breads, be sure to check out my recipe for spelt flour egg-free “eggy” pull apart buns. They are absolutely addictive.
Be sure to check out my video tutorial so that you can watch the bread take shape and see the technique used.
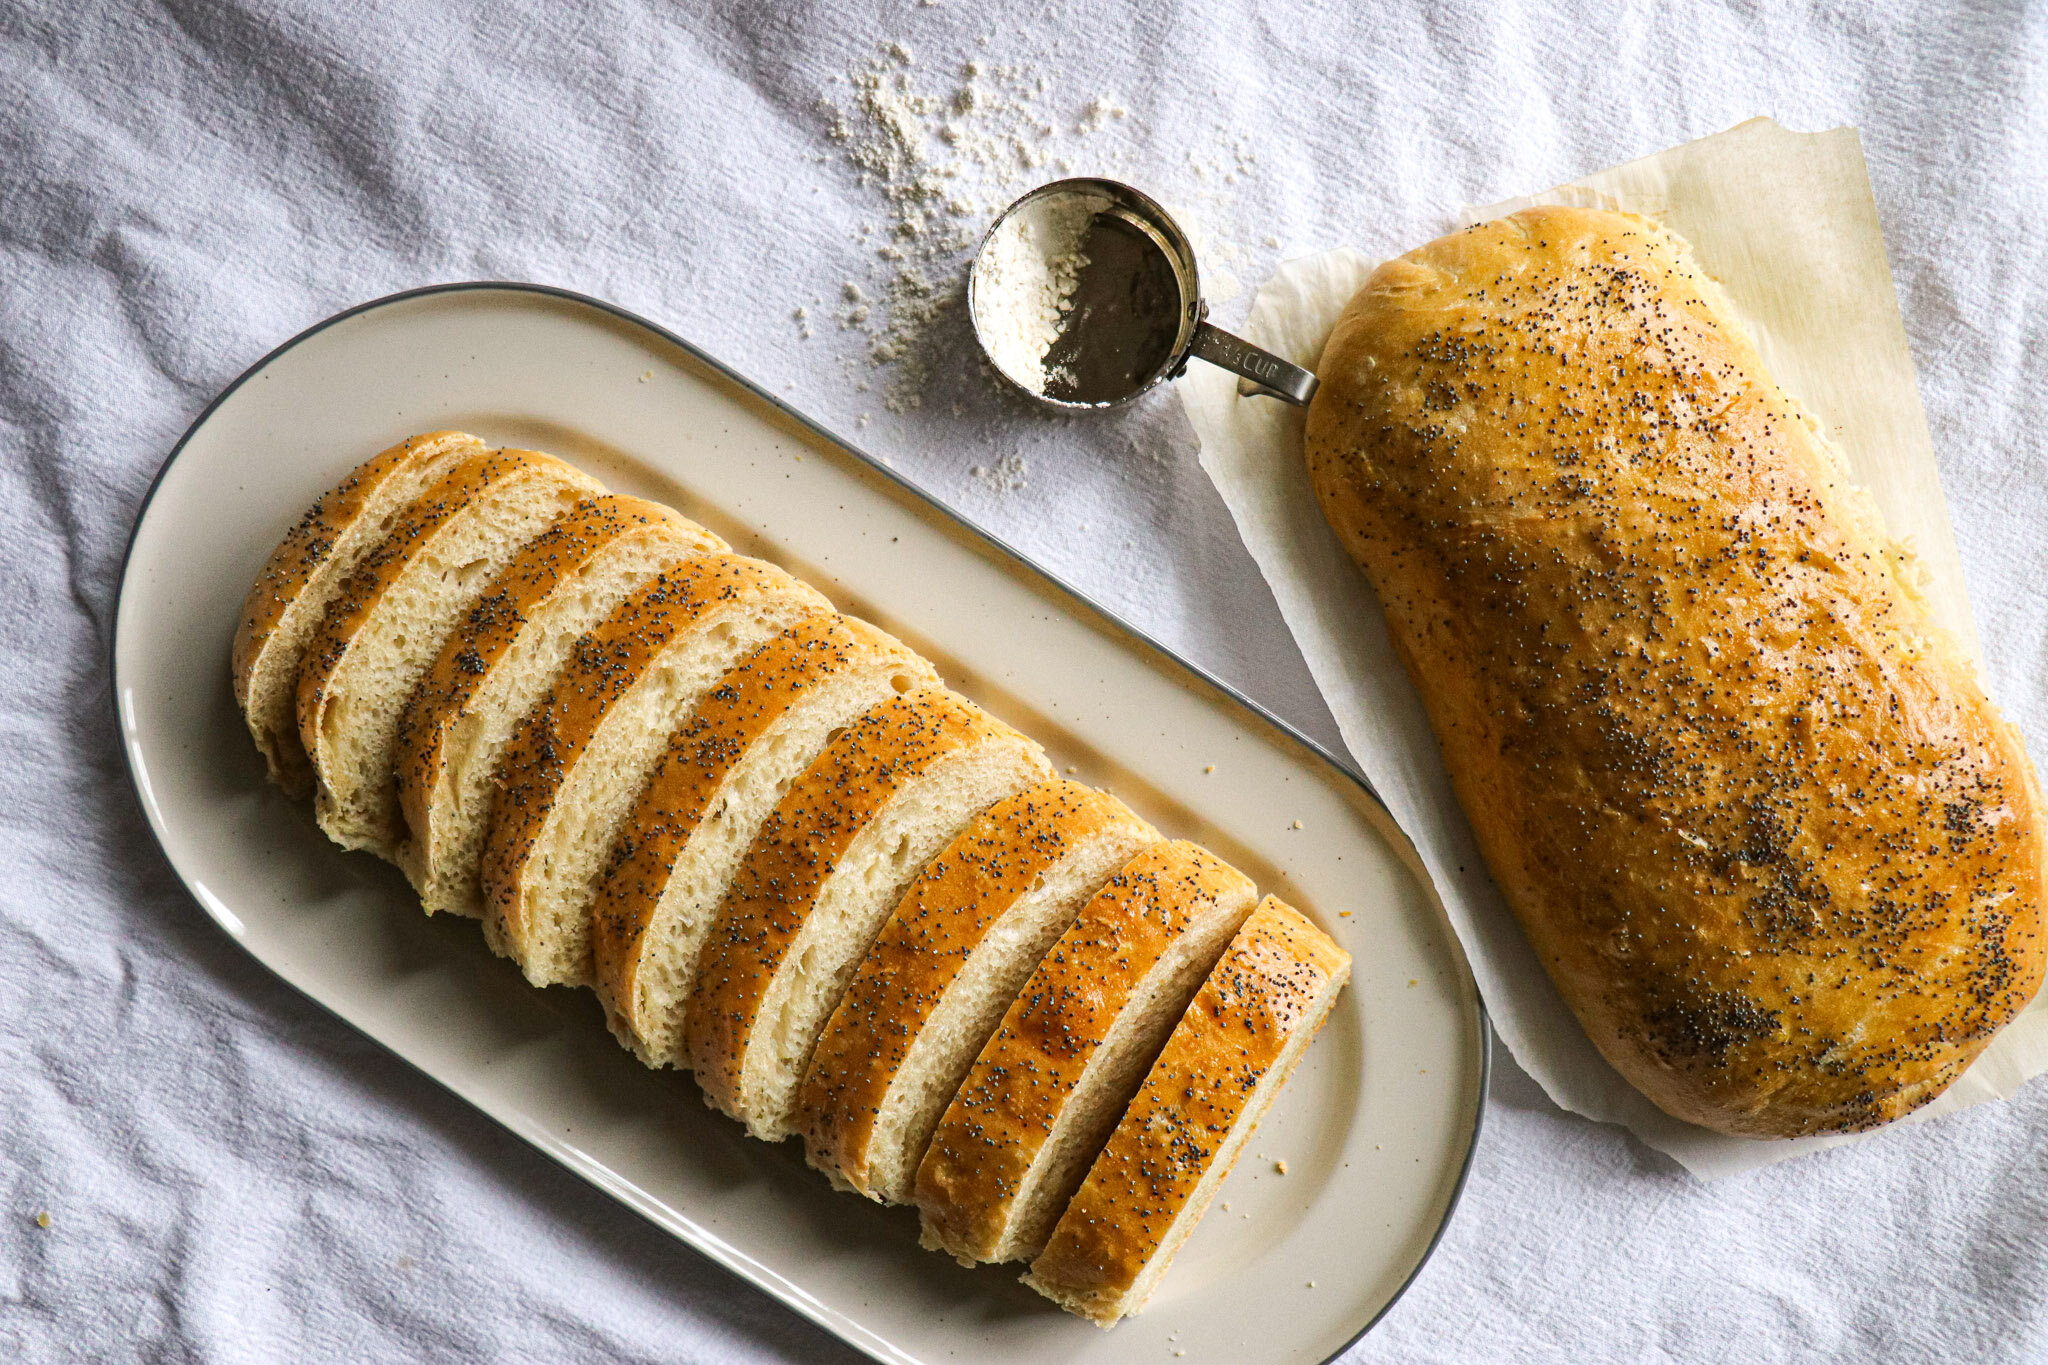
Poppy seeds dot the top of this loaf of homemade yeasted bread, but you can leave the tops plain if you prefer or sprinkle sesame seeds on it. Whatever best suits your preferences.
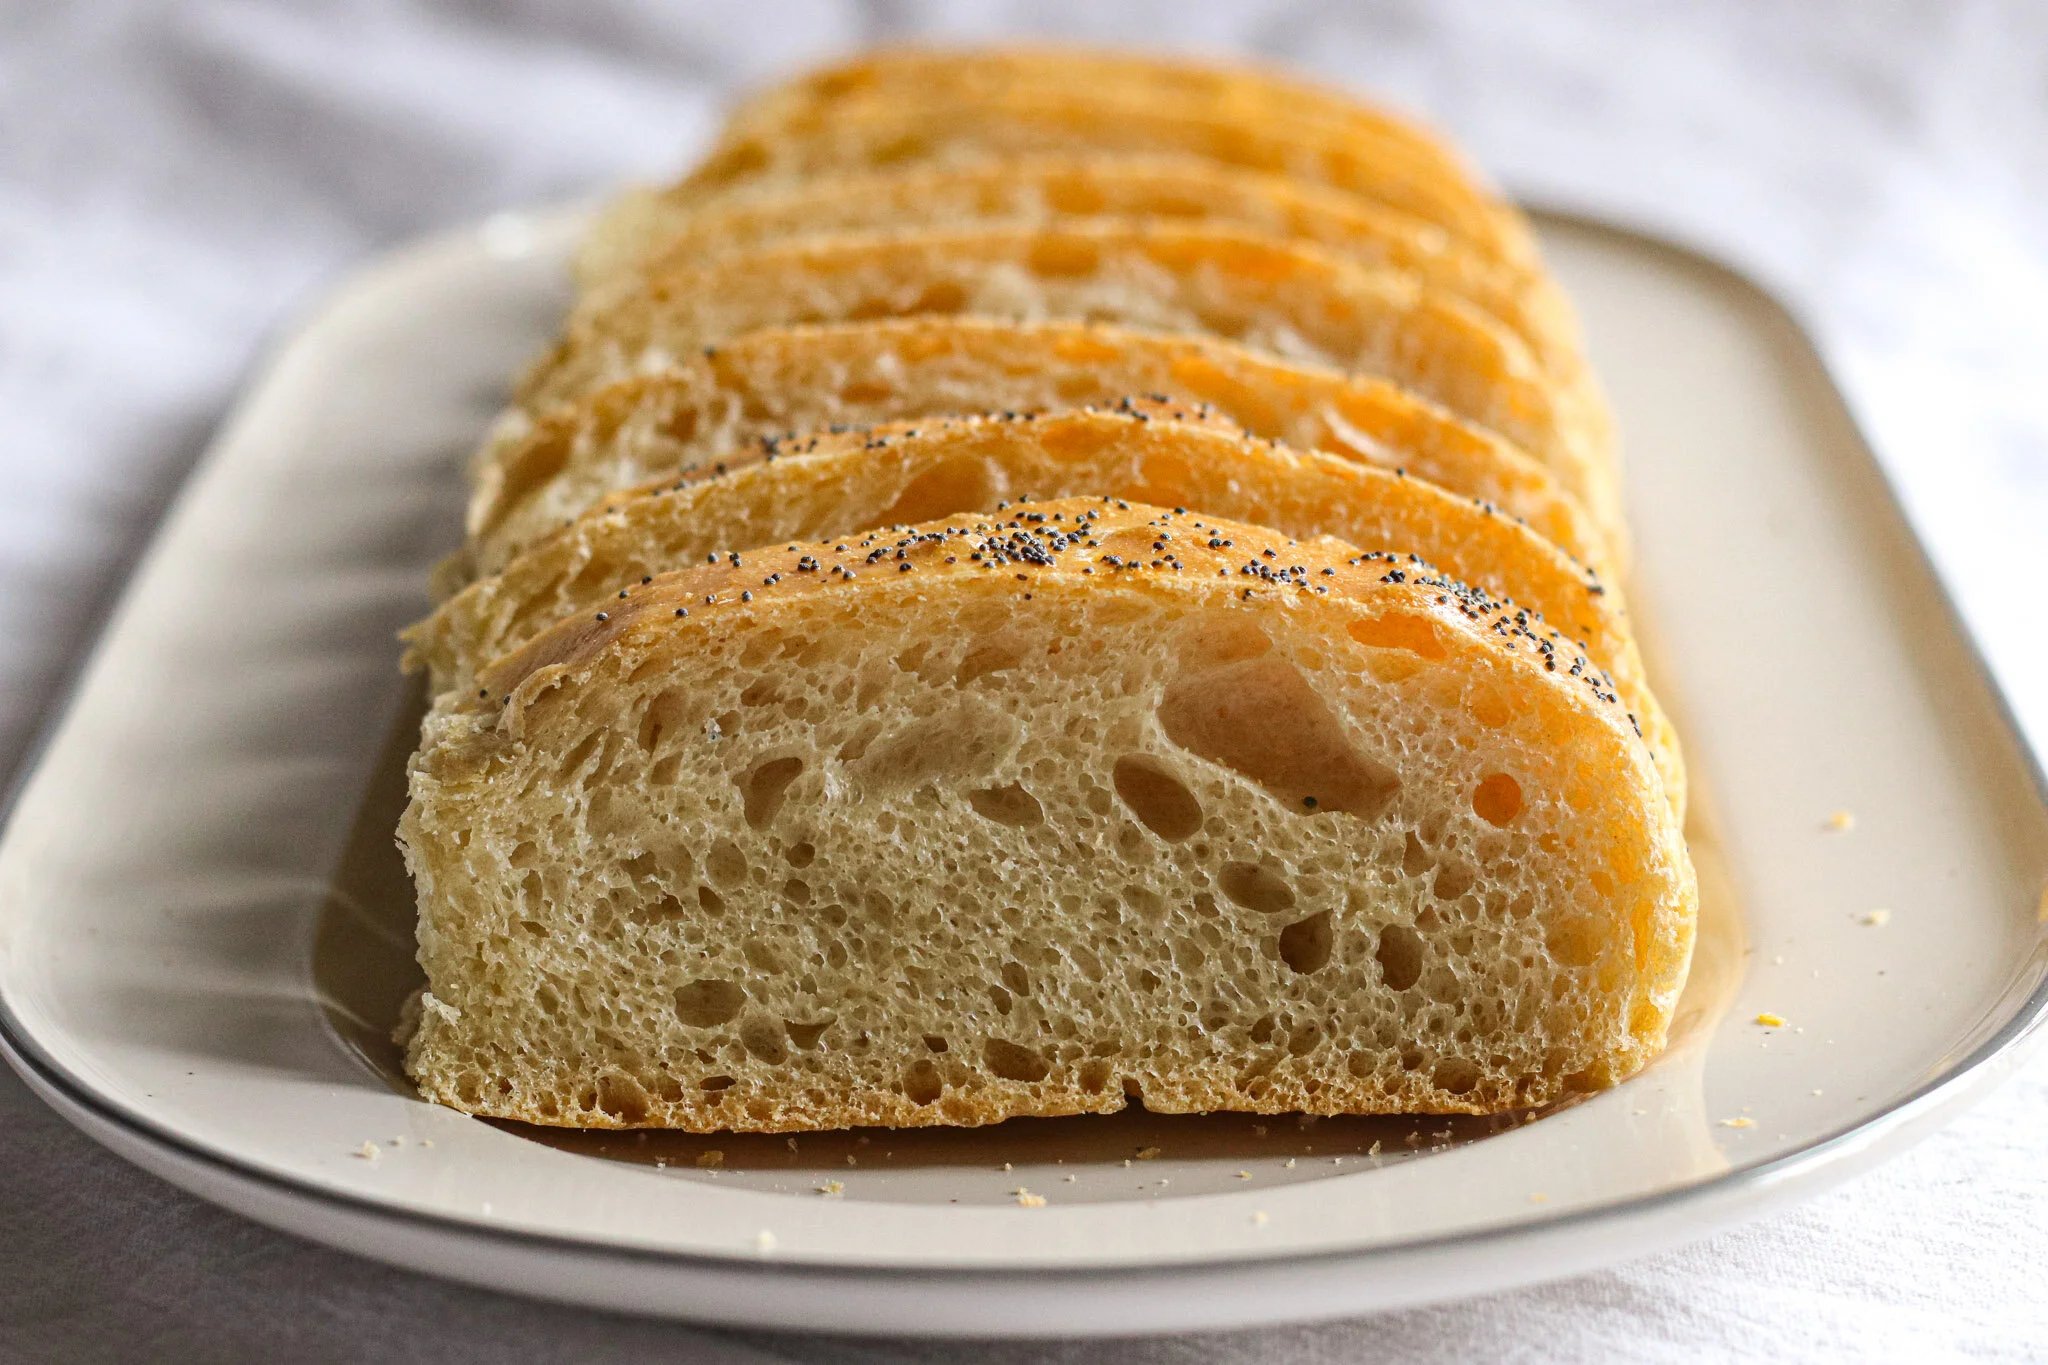
The cross section of this loaf of bread reveals that it has a thin but crispy outer crust, and a chewy interior with lots of air pockets, indicating that it is light and fluffy.
Making my own bread at home has become a passion but started out as necessity. I went for years without eating store-bought bread due to an anaphylactic reaction I had to improperly labeled bread. It kind of scarred me for years, and I found it very hard to trust other companies again. Now, I have got back into buying bread from time to time, but I prefer to make my own. It’s relaxing, it tastes amazing, it’s satisfying to see your hard work pay off and become progressively better, and it allows me to know exactly what is in my food because I have made it myself. This recipe is ideal for any beginner bread baker. No previous experience required. That is why I have made a video tutorial to accompany this post, because the visual can teach you so much.
Ingredients for Simple Homemade Yeasted Bread (Loaves, Buns, Croutons, Bread Crumbs) - dairy free, nut and peanut free, egg free, soy free
4 1/2 cups white bread flour (or unbleached all purpose flour) + some for dusting
2 tsp quick rise dry yeast
1 tsp salt
2 cups warm water
2 tsp extra virgin olive oil
2 tbsp. your preferred allergy-safe milk, such as rice milk or oat milk
How to make Simple Homemade Yeasted Bread (Loaves, Buns, Croutons, Bread Crumbs) - dairy free, nut and peanut free, egg free, soy free
Add the flour and salt to a large bowl and mix well.
Make a well in the center and add the yeast, and then the oil and water. Let it rest and bloom for 10 minutes.
Begin stirring slowly until all the dry ingredients are incorporated and the dough has come together in a ball.
Knead the dough for 1 minute. You will notice its texture change as it becomes more elastic and shiny.
Transfer to a lightly oiled bowl and cover with plastic wrap. Allow to rise for 1.5 - 2 hours. It should double in size.
Preheat oven to 410F.
Remove the plastic wrap and punch the dough in the center. Then transfer it onto a clean surface dusted with flour. Cut into 2 equal portions and shape each one into a loaf. Or, if making buns, 8 equal portions for sandwich buns or 12 for slider buns). See my simple shaping technique in the instructional video above.
Place them about 1 half inch apart on a large baking sheet and let stand for a half hour.
Brush the plant based milk on top once the half hour rise (this is the second rise) is complete.
Place tray in preheated oven and bake for 40 - 50 minutes.
The cooked loaves should be light brown on the outside and sound hollow when tapped.
Allow to cool before slicing.
*You can freeze any unbroken bread in a freezer strength plastic bag. It will last for up to 3 weeks.
Homemade Croutons using my Simple Yeasted Bread Recipe - dairy free, nut and peanut free, egg free, soy free
Ingredients for Homemade Croutons
leftover simple yeasted bread
olive oil for drizzling
sea salt to taste
black pepper to taste
How to make croutons using my Simple Homemade Yeasted Bread Recipe
Let the bread go stale on the counter overnight
Tear the stale bread into pieces with your hands, or cut it into cubes
Place the pieces on a baking sheet. I prefer to line the baking sheet with parchment paper.
Drizzle olive oil over top. You need just enough to thinly coat the chunks of bread. Toss the chunks about in the oil so that everything is well coated.
Season with salt and pepper to taste.
Broil in the oven, on the top rack, until browned. This will take anywhere from 2 - 8 minutes depending on your oven. Keep a close eye on it because the croutons can go from brown to burn very quickly.
Use the croutons in your favorite salads, add to soups, or wherever you see fit!
MAKE THEM INTO BREAD CRUMBS: Add the cooled croutons to a food processor and pulse until they have become bread crumbs. It’s really that easy.
Of course I kept the original photos from 2016 in this post, because I love a good glow up.
It’s hard to imagine that this bread could ever go stale without being eaten right away! But if you make this full batch it yields two large loaves of bread, which can be a lot to eat within a day or two. Not to worry though - there is plenty that can be done with stale bread.
This post was originally published in June 2016. I revamped it in March 2021, with new photography and tweaks to the recipe. Whenever I do this I like to keep the original photography in the post in case you are a curious creature like me. It’s fun to look at before and after shots.
I’m not really sure what was happening in this shot lol but it looks tasty.


